In Linux, a user account is a unique identifier that is associated with a specific set of permissions and privileges. These permissions and privileges determine what actions the user can perform on the system, such as creating and modifying files, running programs, and accessing system resources.
Each user account is identified by a unique user name, and it is associated with a password that is used to authenticate the user when they login to the system. The user name and password are used to verify the user’s identity and ensure that they are authorized to perform certain actions on the system.
In addition to the user name and password, each user account also has a unique user ID (UID) and a group ID (GID). These IDs are used by the system to identify the user and the group to which they belong and to determine the permissions and privileges that are granted to the user.
By default, Linux systems come with a set of predefined user accounts, including the root account, which has superuser privileges and can perform any action on the system. However, administrators can also create additional user accounts for other users as needed.
Create a new user account on an Ubuntu system
Step 1: Open a terminal window.
You can do this by pressing Ctrl+Alt+T or by searching for “Terminal” in the start menu.
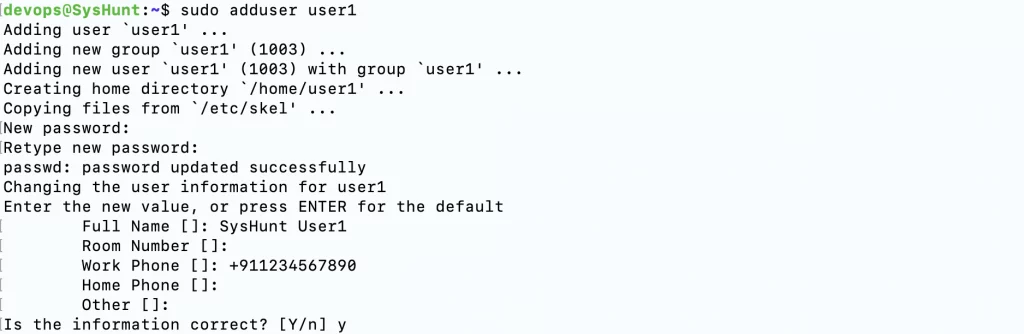
Step 2: Type the following command and press Enter.
sudo adduser user1Replace “username” with the desired username for the new account and Follow the prompts to enter the user’s full name, password, and other information.
Step 3: Switch User.
Once the user account has been created, you can switch to it by typing the following command and pressing Enter.
su - user1This will log you into the new user account.
To create a new user account on an Ubuntu system with a specific default shell.
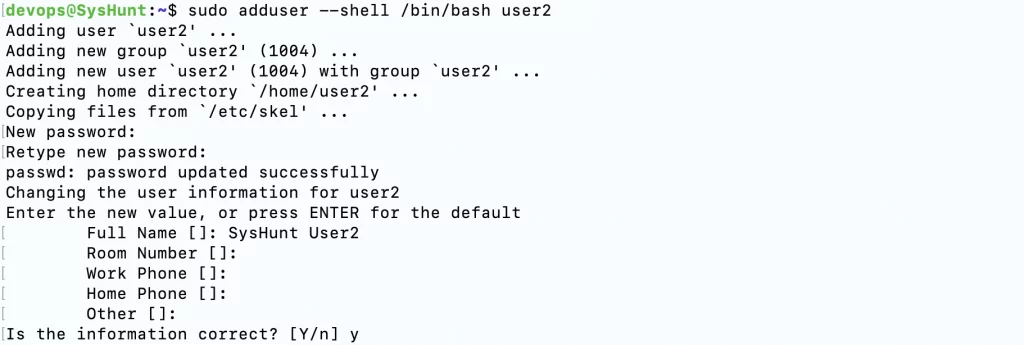
Step 1: Type the following command and press Enter.
sudo adduser --shell /bin/bash user2Follow the prompts to enter the user’s full name, password, and other information.
Step 2: Swiith User.
Once the user account has been created, you can switch to it by typing the following command and pressing Enter.
su - user2This will log you into the new user account with the specified home directory.
To add a user to the sudo group on an Ubuntu system, follow these steps.
Step 1: Type the following command and press Enter.
sudo adduser user2 sudoThe user will now be added to the sudo group and will be able to use the sudo command to execute commands with superuser privileges.
Step 2: Validate sudo access.
Validate sudo access by running the following command.
su - user2
sudo -l
Hope this tutorial was informative and added some value. Please bookmark https://syshunt.com to get preferred results in your google search queries.
Like us on Facebook.
For official Ubuntu documentation, please visit: Ubuntu Help Page


One thought on “Create User Account in Ubuntu”