Telnet is one of the very useful tool to check the connectivity from the source machine to destination IP or URL. It is mostly used by SRE or network people to identify the connectivity issue. Sometimes developers also use telnet to check whether the application is properly reachable or not. This article will guide the process of How to install Telnet on MacOS Big Sur and other various MacOS versions.
Mac OS was previously shipping telnet by default but now they stopped, one can use this tutorial to get telnet in their current MAC OS laptop or Desktop.
Homebrew is one of the native ways to get the new packages in MacOS.
Step 1: Use the following command to get Homebrew on macOS which we will further use to get the telnet package:
[Syshunt@MacOS #] bin/bash -c "$(curl -fsSL https://raw.githubusercontent.com/Homebrew/install/HEAD/install.sh)"==> Checking for `sudo` access (which may request your password).
Password:
==> This script will install:
/usr/local/bin/brew
/usr/local/share/doc/homebrew
/usr/local/share/man/man1/brew.1
/usr/local/share/zsh/site-functions/_brew
/usr/local/etc/bash_completion.d/brew
/usr/local/Homebrew
==> The following existing directories will be made group writable:
/usr/local/bin
==> The following existing directories will have their owner set to Syshunt:
/usr/local/bin
==> The following existing directories will have their group set to admin:
/usr/local/bin
==> The following new directories will be created:
/usr/local/etc
**************
**************
Press RETURN to continue or any other key to abort
**************
**************
**************
==> Homebrew has enabled anonymous aggregate formulae and cask analytics.
Read the analytics documentation (and how to opt-out) here:
https://docs.brew.sh/Analytics
No analytics data has been sent yet (or will be during this `install` run).
==> Homebrew is run entirely by unpaid volunteers. Please consider donating:
https://github.com/Homebrew/brew#donations
==> Next steps:
- Run `brew help` to get started
- Further documentation:
https://docs.brew.shStep 2: Check the Homebrew installation:
[Syshunt@MacOS #] brew --version
Homebrew 3.0.10
Homebrew/homebrew-core (git revision 99f4b05101; last commit 2021-04-02)
Step 3: Use the following command to install telnet:
[Syshunt@MacOS #] brew install telnet==> Downloading https://homebrew.bintray.com/bottles/telnet-63.big_sur.bottle.tar.gz
######################################################################## 100.0%
==> Pouring telnet-63.big_sur.bottle.tar.gz
? /usr/local/Cellar/telnet/63: 4 files, 174.5KBNote: To use telnet refresh the terminal is required so either open a new terminal or close and reopen the existing terminal.
Step 4: Check the telnet installation:
[Syshunt@MacOS #] telnet help
usage: telnet [-l user] [-a] [-s src_addr] host-name [port]
Step 5: Finally check the connectivity of any URL or IP to validate if all good:
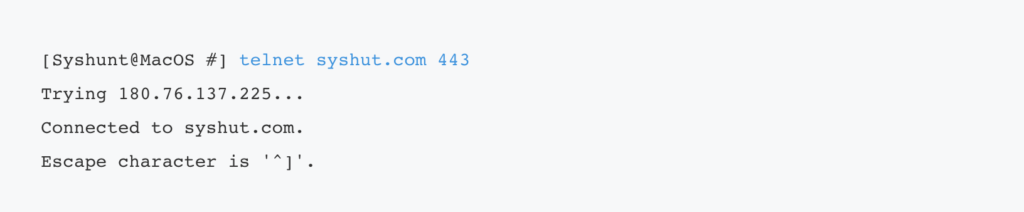
[Syshunt@MacOS #] telnet syshut.com 443
Trying 180.76.137.225...
Connected to syshut.com.
Escape character is '^]'.
Hope this tutorial was useful and interactive and added some value. Please bookmark https://syshunt.com to get preferred results in your google search queries.
References: Telnet